Introduction
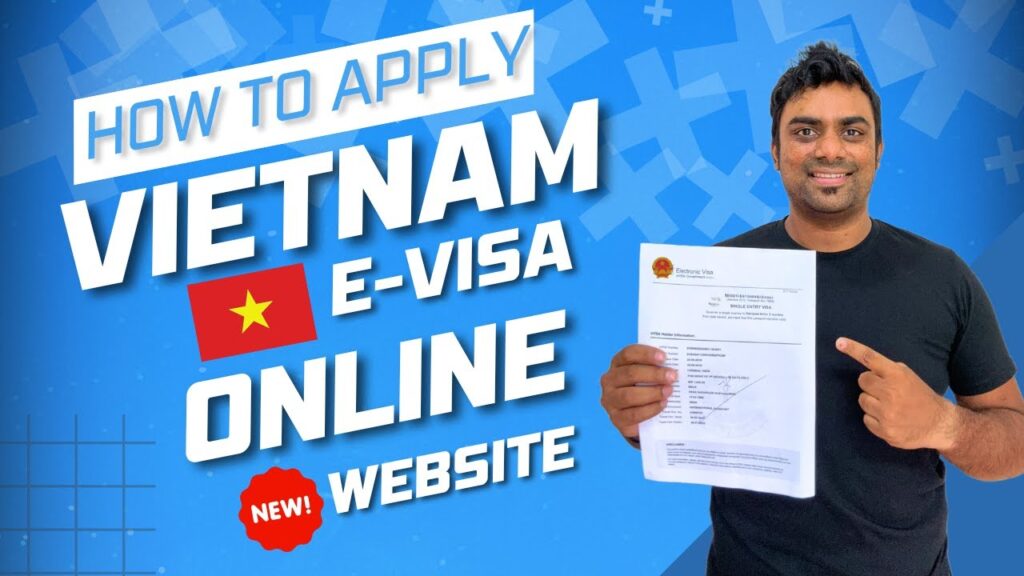
Traveling to Vietnam can be an exciting experience. However, before you start packing your bags, you need to make sure that you have all the necessary documents in order. One of the most important documents you need when traveling to Vietnam is a visa. This article will guide you on how to apply for a Vietnam e-visa.
What is a Vietnam E-Visa?
A Vietnam e-visa is an online visa that allows travelers to enter Vietnam for tourism or business purposes. The e-visa is valid for a maximum of 30 days, and it allows you to enter Vietnam once. You can apply for a Vietnam e-visa online, and it’s a simple process.

Step-by-Step Guide on How to Apply for Vietnam E-Visa
Here are the steps you need to follow when applying for a Vietnam e-visa:
Step 1: Check if You’re Eligible for a Vietnam E-Visa
Before applying for a Vietnam e-visa, you need to check if you’re eligible. Citizens of some countries are not eligible for the e-visa, and they need to apply for a traditional visa instead. You can check if you’re eligible for a Vietnam e-visa by visiting the official website of the Vietnam Immigration Department.

Step 2: Fill Out the Online Application Form
Once you’ve confirmed that you’re eligible for a Vietnam e-visa, you can proceed to fill out the online application form. The form requires you to provide personal information such as your name, date of birth, nationality, passport details, and travel itinerary. Make sure that you double-check all the information before submitting the application.
Guide to complete Vietnam evisa application form
Here are all the items that you need to complete in the form to apply for Vietnam e-visa online:
- Upload: upload scans of your passport and e-visa photo (which are in .jpg format and should not exceed 2MB in size
- Full name: this is to provide your full name exactly as shown on your passport.
- Sex: select Male or Female as indicated.
- Date of birth: This is to select your date of birth in DD/MM/YYYY format, exactly as shown on passport in.
- Current nationality: This is the nationality of the passport you are using to enter Vietnam.
- Nationality at birth: This field is optional, and you can leave it blank.
- Religion: This field is required but very easy to use. For Vietnam e-visa religion, you can fill out with your current religion (if any), or “NONE”.
- Occupation: This This fill is optional, and you can leave it blank.is optional, and you can leave it blank.
- Permanent residential address and Phone number: both fields are optional, and you can leave them blank or complete with your details.
- Email: enter the email you often use to check the messages (if any).
- Passport number: enter your exact passport number.
- Type: select the type of passport, it’s normally “popular”.
- Expiry date: Select the expiry date of passport, in DD/MM/YYYY format.
- Intended date of entry. Just select your intended date to enter Vietnam in DD/MM/YYYY format. Please remember that it can be a planned date, not the exact one, but you are required to enter on or later than that date. Otherwise, you will not be allowed to enter Vietnam with this evisa if granted.
- Intended length of stay in Vietnam, in days. By default, it is 30 days, the maximum validity of an e-visa for Vietnam, but you can customize as per your plan. But we don’t recommend it as your plan can change and you may wish to stay in Vietnam longer than your plan. Just leave it 30 days as default.
- Purpose of entry: Select the suitable one from the list. It is, by default, tourism.
- Intended temporary residential address in Vietnam: the Vietnam e-visa temporary address is a required field, and you can provide the address of the first hotel in which you will stay when reaching Vietnam, or provide your expected friend’s or relative’s address.
- City/Province: provide the city/province corresponding to your provided intended temporary residential address in Vietnam.
- Inviting/guaranteeing agency/organization (if any): Just leave it blank if you have none.
- Allowed to entry through checkpoint: select the port of entry. Be well planned before selecting as once your e-visa is issued, you cannot enter Vietnam via any other ports.
- Exit through checkpoint: it is the same as port of entry. You just select one and make sure that you will leave Vietnam via such a checkpoint.
Step 3: Pay the Application Fee
After submitting your application, you’ll be required to pay the application fee. The fee varies depending on your nationality, and it can be paid online using a credit/debit card.
Step 4: Receive the E-Visa Approval Letter
Once the payment is confirmed, you’ll receive an e-visa approval letter via email within three working days. Print out the approval letter as you’ll need to present it at the immigration checkpoint upon arrival in Vietnam.
Step 5: Get Your E-Visa Stamped at the Airport
When you arrive at the airport in Vietnam, head straight to the immigration checkpoint. Present your e-visa approval letter, along with your passport, and have your e-visa stamped. After that, you’re free to enter Vietnam!

Tips for Filling Out a Vietnam E-Visa Application
Filling out a Vietnam e-visa application can be straightforward if you know what to do. Here are some tips to help you:
- Make sure that all the information you provide is accurate and matches the details on your passport.
- Use a reliable internet connection when filling out the application form to avoid any issues.
- Double-check all the information before submitting the application to avoid mistakes.
- If you’re unsure about anything, contact the Vietnam Immigration Department for assistance.
Conclusion
Obtaining a Vietnam e-visa is a simple process that can be done online. By following the steps outlined in this guide, you can apply for and obtain your e-visa in no time. Remember to check if you’re eligible for the e-visa, fill out the application form accurately, pay the fee, and print out the e-visa approval letter. With your e-visa in hand, you’re ready to explore Vietnam!
FAQs
Q1: What are the requirements for a Vietnam e-visa?
A1: The requirements for a Vietnam e-visa include a valid passport, a digital photograph, and a credit/debit card to pay the application fee.
Q2: How long does it take to get a Vietnam e-visa?
A2: It takes up to three working days to get a Vietnam e-visa after submitting your application and paying the fee.
Q3: Can I apply for a Vietnam e-visa if I’m not eligible?
A3: No, you can’t apply for a Vietnam e-visa if you’re not eligible. You’ll need to apply for a traditional visa instead.
Q4: Can I use a Vietnam e-visa to enter Vietnam more than once?
A4: No, you can only use a Vietnam e-visa to enter Vietnam once.
Q5: What should I do if I made a mistake on my Vietnam e-visa application?
A5: If you made a mistake on your Vietnam e-visa application, contact the Vietnam Immigration Department for assistance.


